I have to give ALL the credit for this amazing idea to Brook at All Things Thrifty. I followed the instructions on her blog and ended up with (what I think) is a really great valance. I put it above my bedroom window. Here are a few step by step pictures.
 |
| measure 100 times, cut once! |
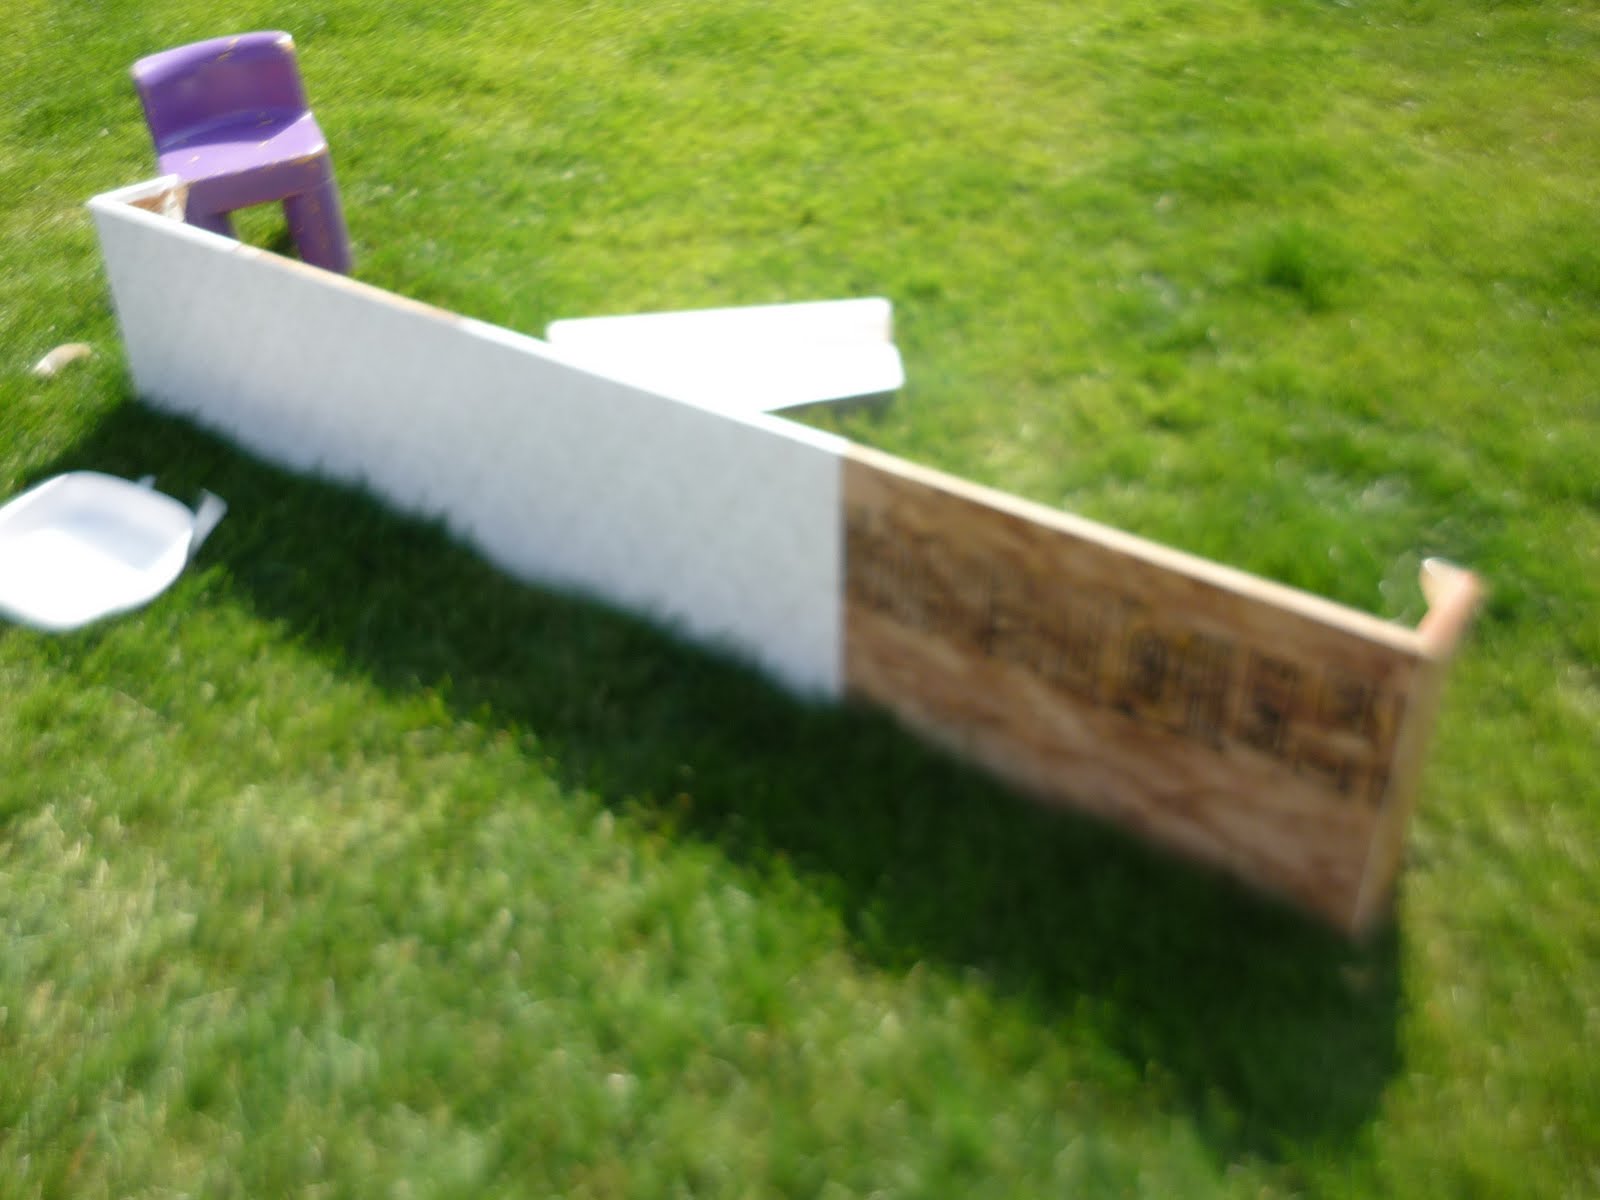 |
| add textured wall paper |
 |
| and some crown molding and paint |
 |
|
get help hanging it up, (tall good looking husband is a must!)
|
The window looked like it was missing something before I added the valance. It really balanced ( haha)out the whole thing.

 The curtains that also adorn this window were made from the flat sheet from a sheet set I bought. I thought it was really uncomfortable, but really nice to look at. I lined them with brown broad cloth. (I also used the fitted sheet from the set as a bed skirt, now the whole room matches.)
 |
Super inexpensive way to add a really nice (and not home made looking) window treatment. This project cost about $20, I had to purchase the wall paper (I have lots left to use on another project) and 6 feet of crown molding. The wood, hardware and paint I already had. Sometimes it pays to have a pack rat husband! (Shhhhh, don’t tell him I said that!)
To get really good step by step instructions for this project check out the brilliant-ness of Brook. Her VALANCE is a great example, and her tutorial is so easy to follow.

nice Donna!
LikeLike